How to enable profiles in Thunderbird
Profiles help with separating / organizing your email accounts. Each profile will open in it's own window. Instead of having all your email accounts like personal and business all lumped together in one.
This guide will help you setup profiles.
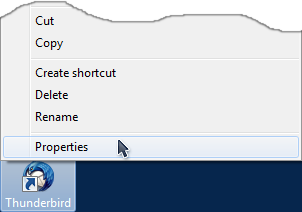
Locate the Thunderbird icon on your desktop. When found, right-click once on it. In the menu left-click on
Properties.
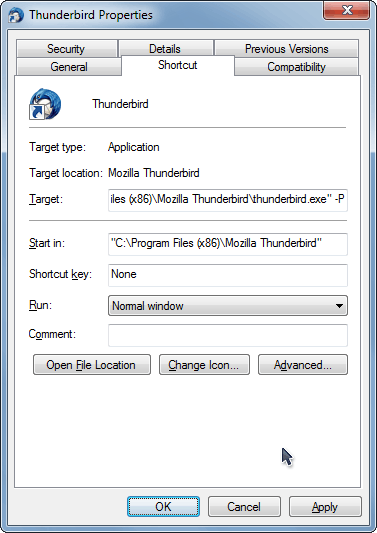
In "Properties" under the Shortcut tab, in the Target field there's a file path in quotes. Place a -P at the end outside to quotemark. Click the OK button.
Note: This will only work on the shortcut icon that you change on the desktop. If you open Thunderbird in another location, like the start menu, it'll only bring up the default profile.
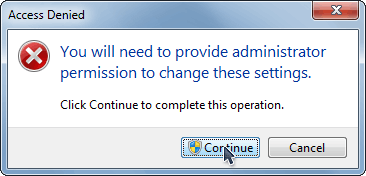
This window may pop-up. Click the Continue button.
Now double-click on the Thunderbird icon on the desktop.
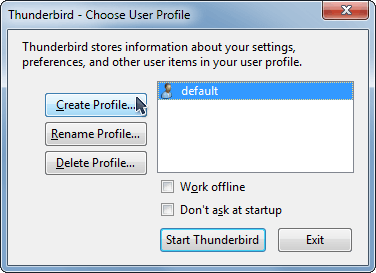
This window will pop-up. If you already had an email account in Thunderbird, you'll see it listed as "default". You can rename the "default" account to something else if you like by clicking the Rename Profile... button. If you select the "default" profile and click the Start Thunderbird button, it'll open up to that email account, but were going to skip that for now.
Click on the Create Profile... button.
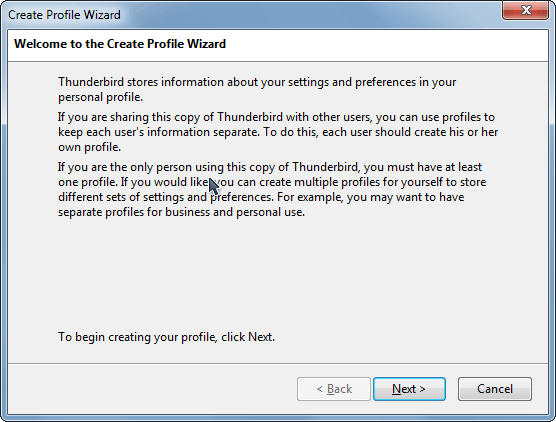
Click the
Next button.

Enter in the name you'd like for your new profile in the Enter new profile name: field.
Click the Finish button.
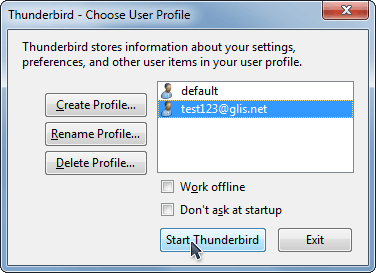
Now, back at this window, select the new profile and click the
Start Thunderbird button.
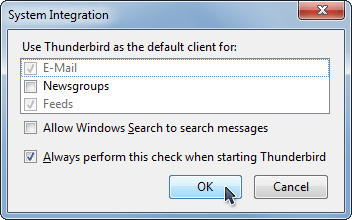
Thunderbird will load up and the window will appear.
Click the OK button.
The Thunderbird account wizard will start up.
From there you can configure your email account:
Setup a POP3 account
Setup a IMAP account