#Pound Communications Support Area
Windows -
Live MailThunderBird
Outlook
Outlook Express
Incredimail
Apple -
Mac MailOutlook 2011
Linux -
ThunderBird (POP3 Setup)ThunderBird (IMAP Setup)
Windows:
Windows 8 (With Modem)Windows 8 (W/O Modem)
Windows 7
Windows Vista
Windows XP
Apple:
OS 8.xOS 9.x
OSX 10
OSX 10.8.3
Linux:
Gnome-PPPKPPP
WVDial
For Help, call
1-888-312-1211
Propel Accelerator - Windows Installation
The following screenshots are from Propel's software version 6.1.2.1011 - running on Windows XP. Your screens may very slightly.
Click here to begin your download.
- Installation 1
- 2
- 3
- 4
- 5
- 6
- SetUp 7
- 8
- 9
- 10
- 11
After double clicking the Propel installer ( propelsetup.exe ),
this splash screen will appear.
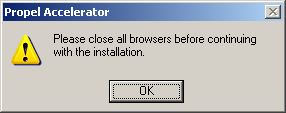
Close any open browsers and click the OK button.
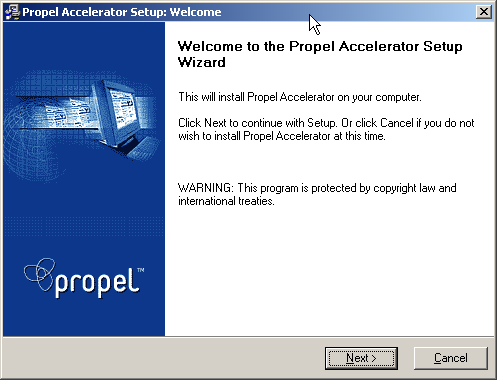
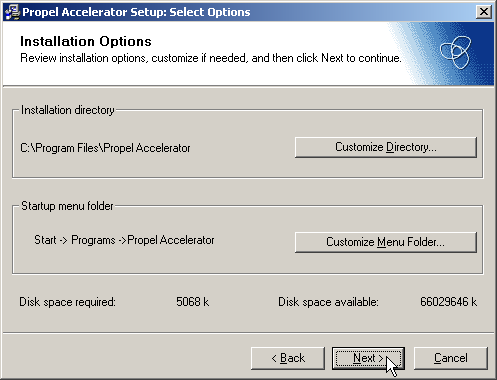
Click the Next button.
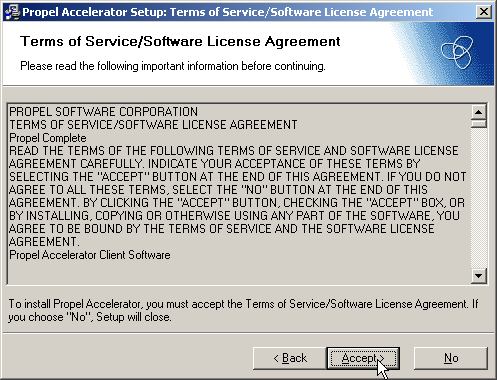
Click the Accept button.
Click the Next button.
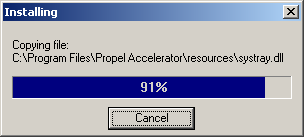
Let the program finish installing

Click to enlarge image
This window is letting me know that my default browser, which is Google Chrome, doesn't support "Dynamic Imaging" and I will need to setup the proxy manually if I want to use this browser.
Just click the OK button. The program installer will set-up Internet Explorer or Firefox automatically, so you can use one of those browser's to take advantage of all Propel's features.
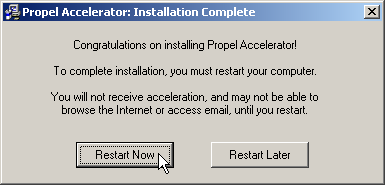
Click the Restart Now button.
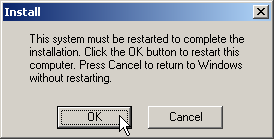
Click the OK button.
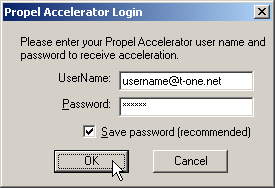
When the computer is done rebooting and you're connected to the internet, this window will pop-up near the clock in the lower-left-hand corner. Type in your email address you have with Pound Communications in the "UserName" field and the password for that email address in the "Password" field.
Place a check next to "Save password (recommended)"
Click the OK button.

When successfully connected, this balloon will pop-up.
When it connects for the first time, your browser will open automatically to a "Propel Acceleration Configuration Wizard". This will help you to configure your Propel settings.
Here's the link to Propel Accelerator Help Document
Another way to access the help section is to right click on the Propel icon ![]() near the clock and select Help... See image below.
near the clock and select Help... See image below.
Note: Some sections in the help document requires an internet connection.
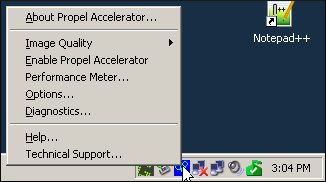
Right or Left click once on the ![]() Propel icon.
Propel icon.
In the menu select Options...
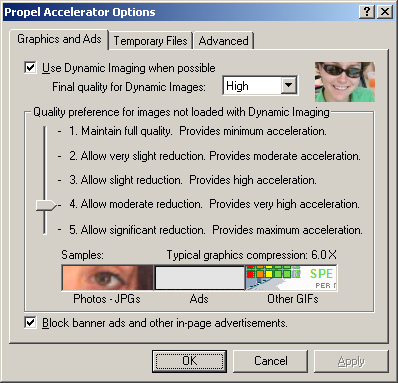
Options - Grahics and Ads tab.
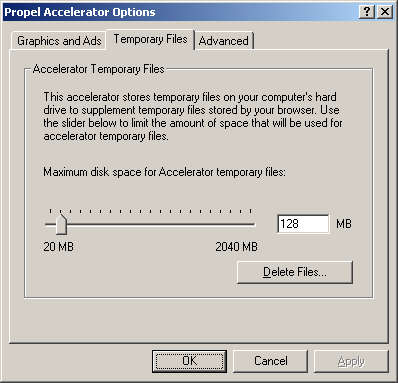
Options - Temporary Files tab.
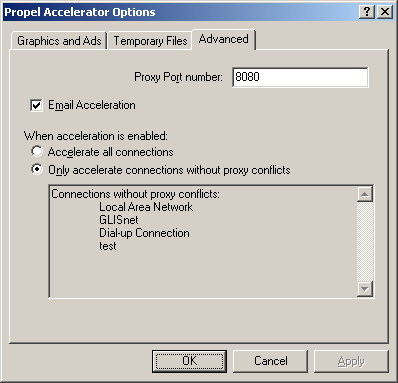
Options - Advance tab.